Arcadia Wood Flooring restores and installs parquet flooring in Arcadia, CA, serving surrounding cities including Mayflower Village, North El Monte, East Pasadena, South Monrovia Island and Temple City. After 20+ years on wood floors, parquet remains the work that most rewards patience, because every tile sits in a pattern and a single careless step shows across the whole room. Much of what we see are 1950s and 1960s floors worth saving, alongside owners who want new herringbone or chevron in a larger room.
Our approach to an older parquet floor is to keep it wherever the wood allows. Loose tiles get reset, missing pieces get matched, and only then does sanding start. The adhesive holding everything down is its own question, and we answer it before a tile is lifted rather than scraping first and wondering later.
For new parquet, the work starts with the substrate. Parquet is almost always glued down, so a slab or subfloor that is uneven or damp will show up in the pattern. We check both before a single block is set, and we write down what we found.
Restoring Mid-Century Parquet In Place
Finding Loose, Lifting And Hollow Parquet
A hollow parquet tile sounds different under a tapped knuckle or a rolling chair, and loose tiles often click or shift when stepped on. We walk the whole floor with a tap test and mark every tile that has let go, including the ones that have not yet lifted.
Mapping matters because sanding exposes weak spots. A drum sander passing over a block with no bond can pull it free or gouge its edges, turning a small repair into a larger one.
Resetting Tiles With The Right Adhesive
Loose tiles come up one at a time, and old adhesive is dealt with only after we know what it is. The block and subfloor are cleaned, and each tile is set back with an adhesive suited to the substrate.
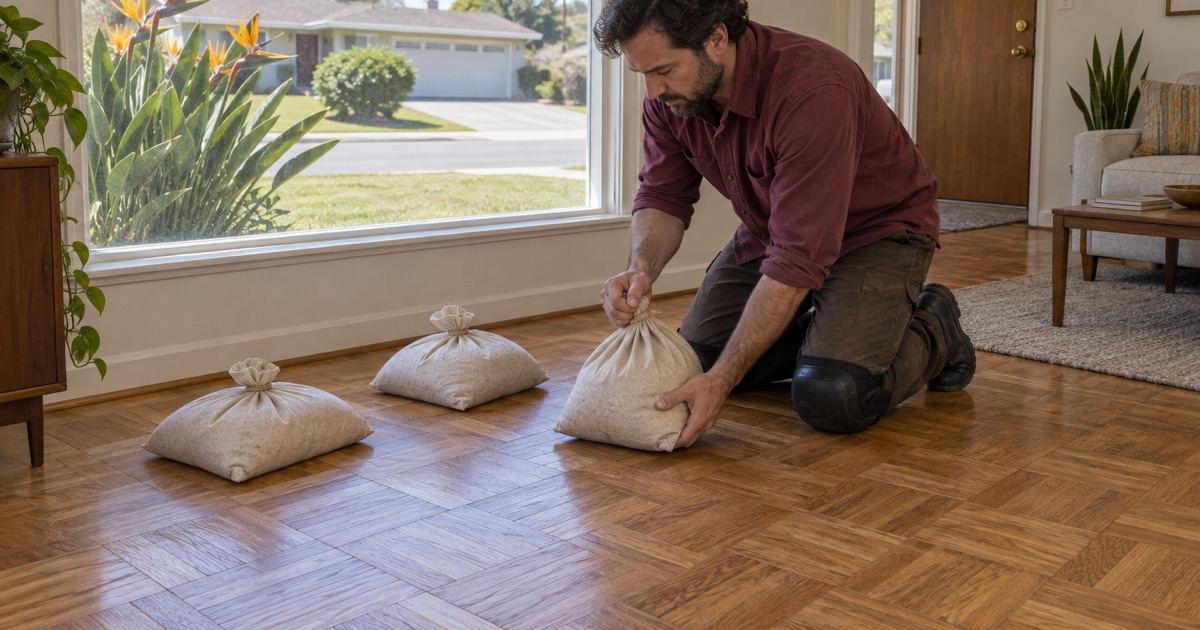
We weight and let repaired areas set before any sanding. Rushing that cure leads to tiles shifting under the sander or lipping above their neighbors once the finish goes on.
Matching Missing Parquet Pieces
Parquet floors often lose a few blocks near doorways, heating registers or where a wall once stood. Replacement pieces are chosen for species, grain and size, trimmed as needed, and woven into the pattern so they read as original.
Where new wood is noticeably lighter than aged blocks, sanding the whole floor together and choosing the finish carefully brings the colors much closer. We show you a repaired area before the final coats go on.
Old Adhesive Under Parquet Tile
Black Mastic And Cutback Adhesive
Many older parquet floors were laid in black mastic or cutback adhesive. Some of those products were made with materials that should not be sanded, ground or scraped into dust without first knowing what they contain.
We treat the adhesive as a question to answer before tiles come up. Where the product and age suggest it, we recommend testing before any removal work, and we plan the job around what the test shows.
Deciding Between Repair And Replacement
When only part of a floor is loose, resetting tiles in place usually costs less and keeps original wood. When most of the floor has let go, or the adhesive under it limits what can be done, replacing the parquet may be the better path.
We lay out both options with the reasons behind each. The decision stays with you, made on what is actually under the tiles.
Moisture Behind Lifting Parquet
Adhesive does not always fail on its own. Moisture rising from a slab, a slow plumbing leak, or damp air in a poorly vented crawl space can loosen a bond that held for decades, and the tiles nearest the source usually go first.
We take moisture meter readings across the floor and compare wet and dry areas before any tile is reset. If readings point to an active source, that gets fixed first, because regluing parquet over a wet substrate only restarts the clock on the same failure.
Refinishing Parquet Patterns
Sanding Across Changing Grain Directions
Parquet grain runs in several directions, so every sanding pass cuts across grain somewhere. That makes scratch patterns easier to see, especially under stain or gloss finish.
We use a grit sequence and final orbital sanding suited to patterned floors so cross-grain scratches are removed before finish goes on. Checking the surface under raking light between grits is part of the job, not an extra.
Mosaic And Block Parquet Thickness
Thin mosaic parquet has much less wood than thicker block parquet, which limits how aggressively it can be sanded. We check thickness at an edge or register before choosing machines and grits.
On thin floors, a lighter sanding or a screen and recoat may be the right call. Sanding through a thin block leaves a hole that has to be replaced.
Finish And Color On Honey Oak Parquet
Many mid-century parquet floors carry a honey oak color built up over years under oil-based finish. You can keep that warmth with an oil-modified polyurethane or lighten the look with a clear waterborne coat after sanding.
Every finish we apply meets the South Coast air district limit of 275 grams per liter for wood coatings. Sample patches on your own floor show the color before the room is committed.
Installing New Parquet Flooring
Herringbone, Chevron And Block Patterns
Herringbone and chevron work well in entries, dining rooms and long halls, while square block parquet suits more traditional rooms. Layout starts from a centerline so the pattern stays straight and cuts at the walls are balanced.
We dry-lay a section to confirm the layout before any adhesive goes down. Correcting a drifting pattern after half the room is set is not possible without tearing it out.
Preparing Slabs And Subfloors For Parquet
Glue-down parquet needs a flat, clean and dry surface. On slab-on-grade, we test concrete moisture and check flatness, and on raised foundations we check the plywood subfloor for movement.
High spots are ground, low spots are filled, and loose subfloor panels are fastened before installation. Parquet shows every dip, so preparation decides how the finished floor looks.
Acclimation And Expansion Gaps For New Parquet
Parquet blocks are delivered well before installation and left in the rooms where they will be laid, so their moisture content can settle toward the conditions of the house. We check the wood with a moisture meter and compare it with the subfloor before starting, rather than trusting a set number of days.
An expansion gap is left around the perimeter and at fixed objects such as cabinets and hearths, then hidden under baseboard, shoe molding or a reducer at doorways. A pattern laid tight to the walls has nowhere to go when the wood swells, and buckling or tented tiles are the usual result.
Site-finished parquet is sanded flat after the adhesive cures, which evens small height differences between blocks. Prefinished parquet skips that step, so the substrate has to be even flatter before it goes down.
- 20+ Years on Wood Floors
- Room-by-Room Schedules
- Stairs Priced by the Step